The Ultimate YouTube Publishing Checklist
Want your videos to rank higher? Discover the ultimate YouTube publishing checklist. Learn the exact SEO and upload steps to guarantee your content gets seen.
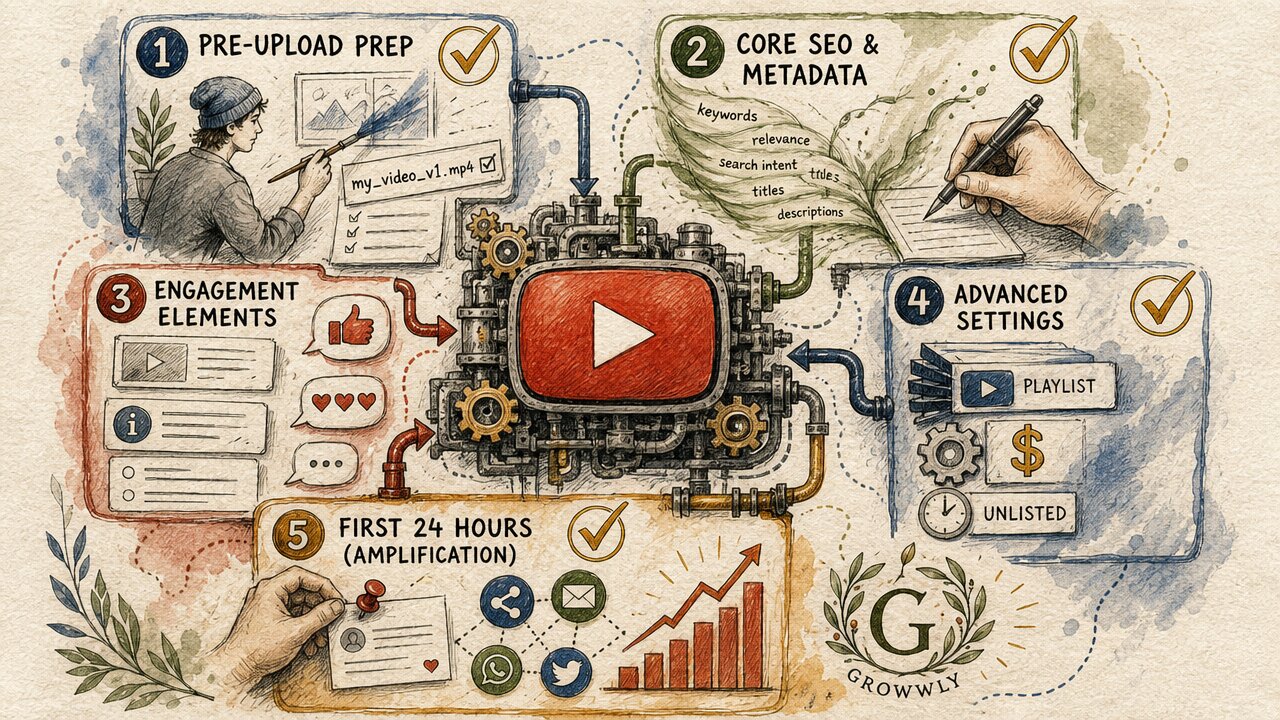
You’ve spent hours researching your topic, setting up your lighting, recording multiple takes, and meticulously editing your footage. But here is the hard truth: hitting the "Export" button is only half the battle. If you want your video to actually be seen, you need a bulletproof publishing strategy.
Many creators treat the upload process as an afterthought. They drag and drop their video file, type out a quick title, maybe add a few tags, and hit publish. This is a massive mistake. YouTube is the second largest search engine in the world. Its algorithm relies on metadata, engagement signals, and optimization best practices to understand who your video is for and why they should click on it.
Missing even one step in the publishing process—like forgetting to optimize your description or skipping closed captions—can severely limit your video's reach. To make sure your hard work never goes to waste, we’ve broken down the perfect YouTube publishing routine into five critical phases. Bookmark this page, and use it every single time you upload.
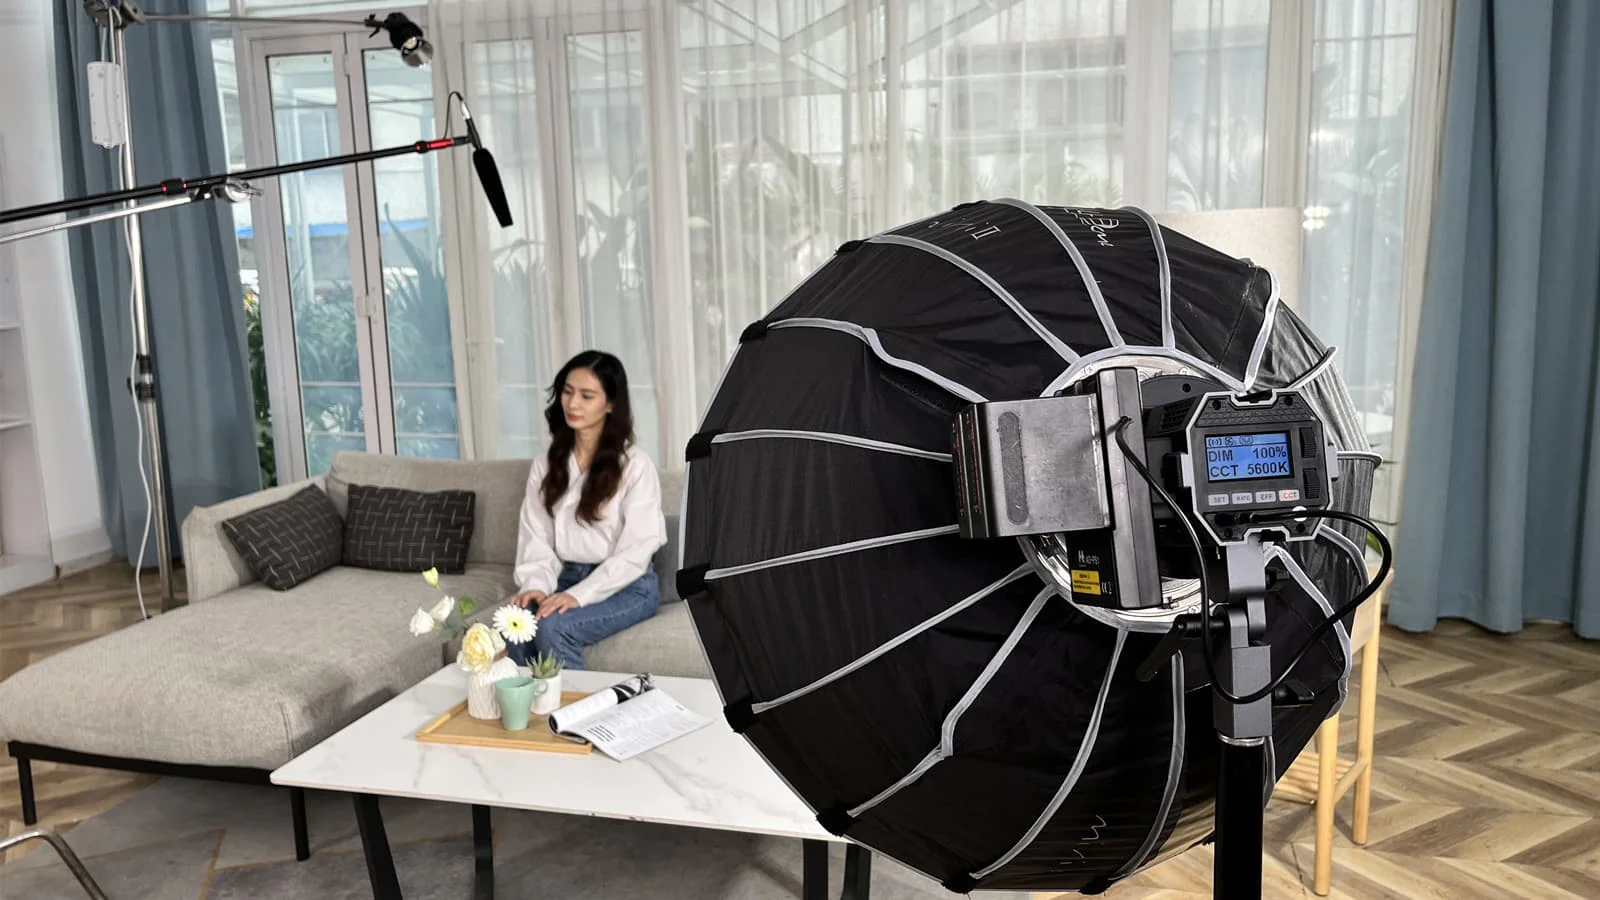
Phase 1: Pre-Upload Preparation
Before you even open YouTube Studio, there are a few essential steps you must take to ensure your files are optimized for the platform's backend.
1. Optimize Your Raw File Names
Did you know that YouTube reads the file name of your video and thumbnail before you even type a title? If you are uploading a file named Final_Render_V4_720p.mp4, you are missing out on early SEO signals.
- Action: Rename your video file to include your main target keyword, using hyphens to separate words. (e.g.,
youtube-publishing-checklist-2024.mp4). - Action: Do the exact same thing for your thumbnail image file (e.g.,
youtube-checklist-thumbnail.jpg).
2. Verify Export Settings
YouTube compresses video files upon upload. If you don't export your video using the optimal settings, your final product might look pixelated or suffer from audio desync.
- Resolution: Always aim for 1080p (1920x1080) at a minimum. If you shot in 4K, upload in 4K.
- Frame Rate: Export in the same frame rate you recorded in (usually 24, 30, or 60 fps).
- Codec: H.264 is the most universally accepted and optimized codec for YouTube uploads.
3. Design a High-Click-Through-Rate (CTR) Thumbnail
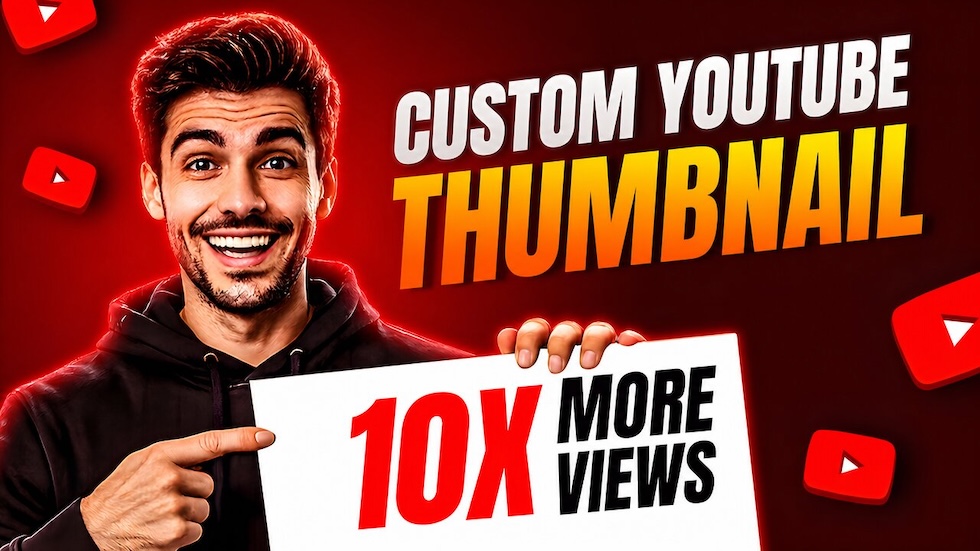
Your thumbnail is arguably more important than your title. It is the visual hook that stops a viewer from scrolling. Do not rely on YouTube's auto-generated thumbnails.
- Design Rule: Keep it simple. Use the rule of thirds and ensure the main subject is large and clear.
- Text Rule: If you use text, keep it under 5 words. Do not just repeat the video title—use the thumbnail text to create curiosity or complement the title.
- Contrast Check: Zoom your thumbnail out so it is the size of a postage stamp. Can you still read the text and understand the image? Most users will see your video on a mobile device, so it needs to pop at small sizes.
Phase 2: Core SEO & Metadata Optimization
Now you are in YouTube Studio. This is where the magic happens. The metadata you provide here is how the algorithm determines your video's relevance to user search queries.
4. Craft a Magnetic, Keyword-Rich Title
Your title needs to serve two masters: the YouTube search algorithm and the human psychology of the viewer.
- Front-Load Keywords: Place your main target keyword as close to the beginning of the title as possible. (e.g., YouTube SEO Guide: How to Rank Your Videos Fast is better than How to Rank Your Videos Fast Using Our YouTube SEO Guide).
- Maximize CTR Elements: Include numbers, brackets, or emotional trigger words (e.g., Ultimate, Secret, Proven, 2024).
- Length Limit: Aim for under 60 characters so your title doesn't get cut off in mobile search results or suggested video sidebars.
5. Write a Strategic Video Description
The description box gives you up to 5,000 characters to provide context. The algorithm heavily weighs the first 200 characters (the part visible "above the fold" before the viewer clicks "Show More").
- First 2 Lines: Write a natural, compelling summary of the video that includes your primary and secondary keywords.
- Body Paragraphs: Provide a mini-blog post summarizing the value of the video.
- Links & Resources: Include links to your social media, affiliate products, or tools mentioned in the video.
- Call to Action (CTA): Ask them to subscribe or watch a related video on your channel.
6. Add Chapter Timestamps
Timestamps (or Video Chapters) break your video into easily digestible sections. This not only improves viewer retention (because users can skip to exactly what they want) but also gives you another opportunity to use keywords. Furthermore, Google Search often indexes YouTube chapters, allowing your video to appear in standard Google search results.
- Format: Start your first timestamp exactly at
00:00. - Structure: Add at least three timestamps, listed in ascending order, each at least 10 seconds apart.
7. Strategic Tagging
Tags hold less weight today than they did five years ago, but they are still essential for helping YouTube understand common misspellings or related context.
- Primary Tags: Your exact main keyword and slight variations.
- Broad Tags: The broader category of your video (e.g., Content Creation, Digital Marketing).
- Brand Tags: Always include your channel name and brand name so your own videos are more likely to appear in the "Up Next" suggested column.
8. Include 3 Relevant Hashtags
Place up to three hyper-relevant hashtags at the very bottom of your description. YouTube will display these as clickable links. Keep them broad but relevant (e.g., #YouTubeTips #Growwly #VideoMarketing).
Phase 3: Engagement & Retention Elements
SEO gets viewers to click, but retention and engagement are what make the algorithm push your video to a wider audience.
9. Add Info Cards
Info Cards are the interactive notifications that slide out from the top right corner of the video.
- Placement: Don't put cards in the first 30 seconds—you don't want viewers clicking away before they are hooked.
- Strategy: Check your audience retention graph from previous videos. Place an info card right before a typical drop-off point to redirect them to another one of your videos instead of leaving your channel entirely.
10. Configure Your End Screen
End screens appear in the last 5 to 20 seconds of your video. They are the most powerful tool you have to turn a single view into a binge-session.
- Best Practice: Always use a template that includes at least one video and a subscribe button.
- Video Selection: Use the "Best for Viewer" option for one slot, and manually select a highly relevant "Next Step" video for the other. Verbally tell the viewer to click the video on screen during your outro.
11. Upload Custom Subtitles/Closed Captions (CC)
While YouTube's auto-captions are getting better, they still make mistakes. Uploading a clean, accurate subtitle file (.SRT) has massive benefits.
- Accessibility: It allows deaf or hard-of-hearing viewers, as well as people watching on mute, to consume your content.
- SEO Boost: Search engines can read text, not video. A perfect transcription acts as an exact text copy of your entire video, feeding the algorithm thousands of relevant keywords based on what you actually said.
Phase 4: Advanced Pre-Publishing Settings
Before you hit publish, you need to categorize and classify the video properly.
12. Assign to a Playlist
Playlists are an underutilized growth hack. When a viewer watches a video within a playlist, the next video to auto-play will be another one of your videos. Always assign your new upload to at least one relevant, keyword-optimized playlist on your channel.
13. Select the Correct Category
Help YouTube categorize your content by selecting the most accurate category (e.g., Education, Entertainment, Howto & Style).
14. Monetization & Ad Suitability Checks
If you are part of the YouTube Partner Program, ensure monetization is toggled ON.
- Run the "Checks" tab to ensure there are no copyright claims against your background music or b-roll.
- Complete the self-certification for ad suitability to ensure your video isn't hit with a "limited ads" yellow icon.
15. The "Unlisted" Buffer Strategy
Never upload a video directly to "Public."
- Action: Upload it as "Unlisted" first.
- Why? This gives YouTube time to process the high-resolution versions (HD/4K) and complete its automated copyright checks. If you publish immediately, your first viewers might be forced to watch a blurry 360p version, leading to immediate drop-offs. Keep it unlisted for at least 30 minutes prior to going live.
Phase 5: The First 24 Hours (Amplification)
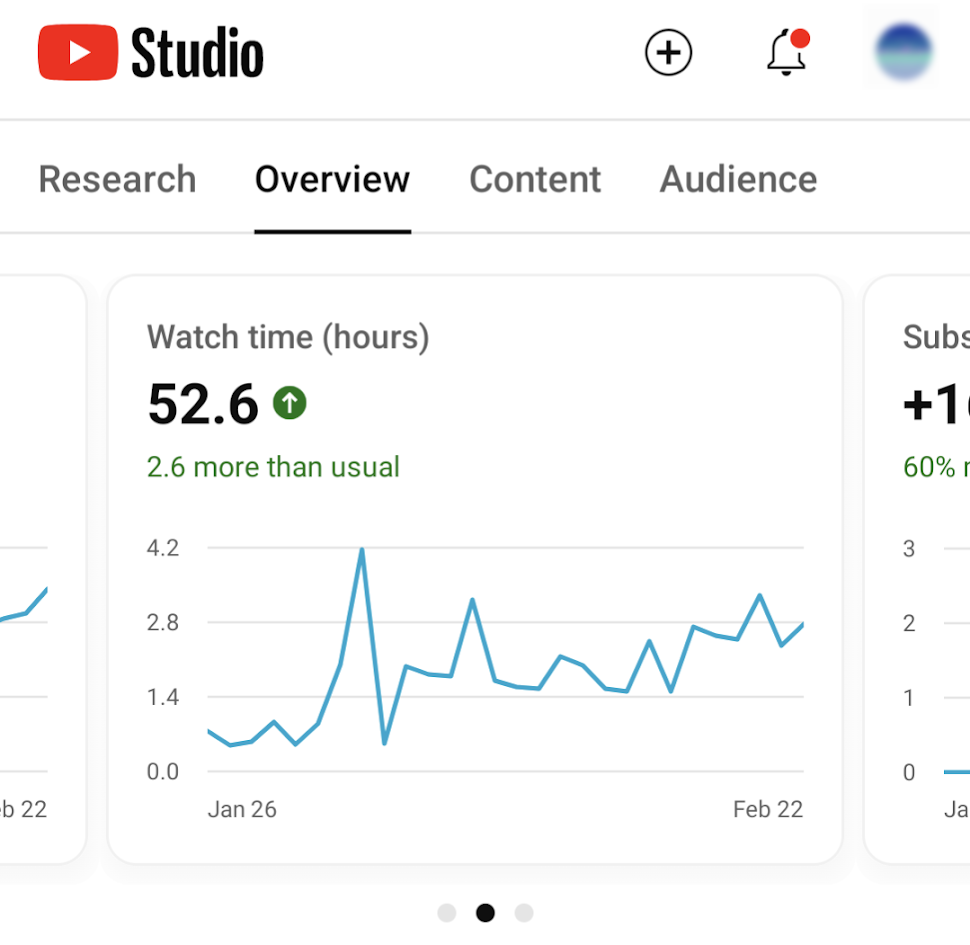
The YouTube algorithm heavily judges a video based on its performance in the first 24 hours. The faster you can get high-quality views, likes, and comments, the more YouTube will promote it organically.
16. Pin a Strategic Comment
Be the first person to comment on your own video, and pin it to the top.
- Ask an engaging question related to the video to spark discussion (comments are a huge algorithmic signal).
- Include a link to a related video or resource, driving traffic deeper into the Growwly ecosystem.
17. Share to the Community Tab
Once the video is public, create a post on your YouTube Community Tab. Don't just paste the link; use a poll or an engaging text post with a GIF to announce the new upload.
18. Cross-Platform Promotion
Drive external traffic to your video immediately.
- Send an email blast to your newsletter subscribers.
- Share a 15-second teaser clip on Instagram Reels, TikTok, and YouTube Shorts, directing people to the full video.
- Post the link in relevant Facebook Groups, subreddits, or Discord communities (only if allowed by their rules, of course).
Conclusion: Consistency is Key
Mastering YouTube isn't about getting lucky with a viral hit; it's about building a massive, searchable library of optimized content. By following this Ultimate YouTube Publishing Checklist, you ensure that every piece of content you produce is primed for maximum visibility, engagement, and algorithmic success.
Don't skip steps, don't rush the upload, and most importantly, keep creating. For more deep dives into content creation, SEO, and audience growth, keep exploring the Growwly blog. Happy publishing!

Why Kurzgesagt Gets So Many Returning Viewers
Kurzgesagt uploads just twice a month yet keeps 25.4M subscribers coming back for more. Here's the exact retention system behind it, backed by data — and how any creator can borrow it.
Read the post
The Most Common Words in Viral Titles
Want to skyrocket your YouTube views? Discover the top 5 most common words in viral titles to boost your CTR today.
Read the post